AutoByteus
Tutorials
GitHub
Discord
Tutorial Videos
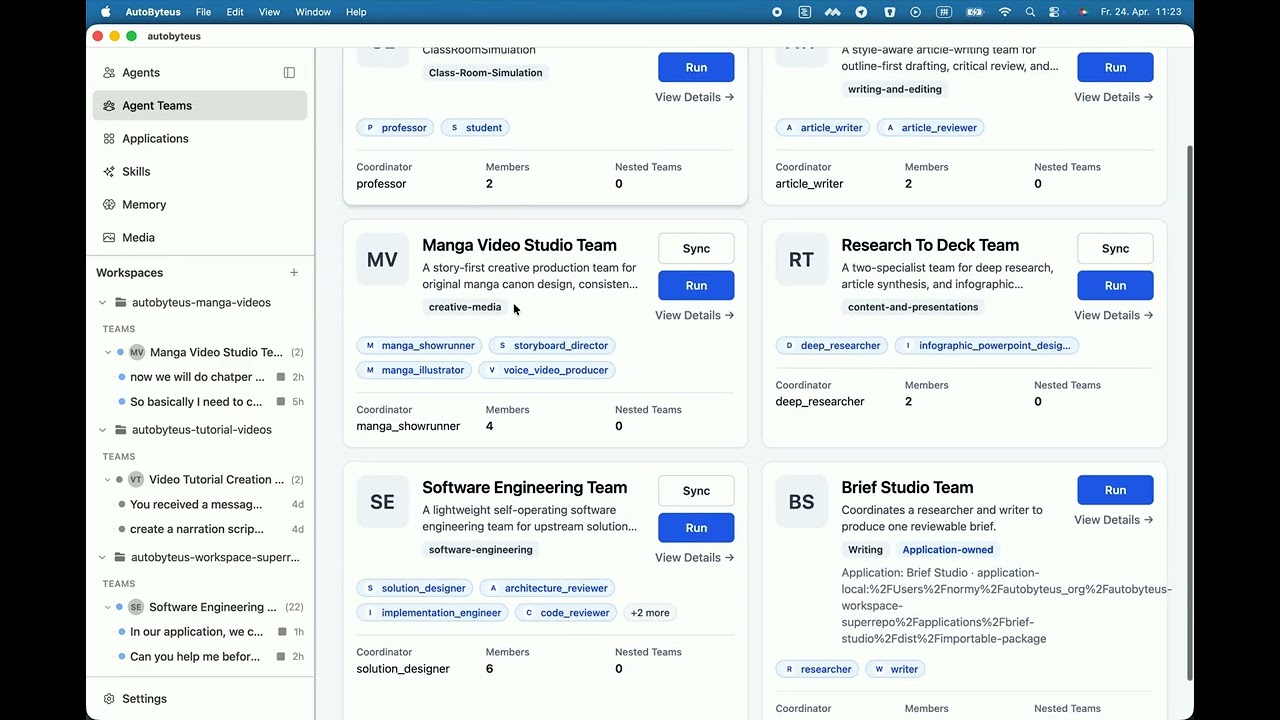
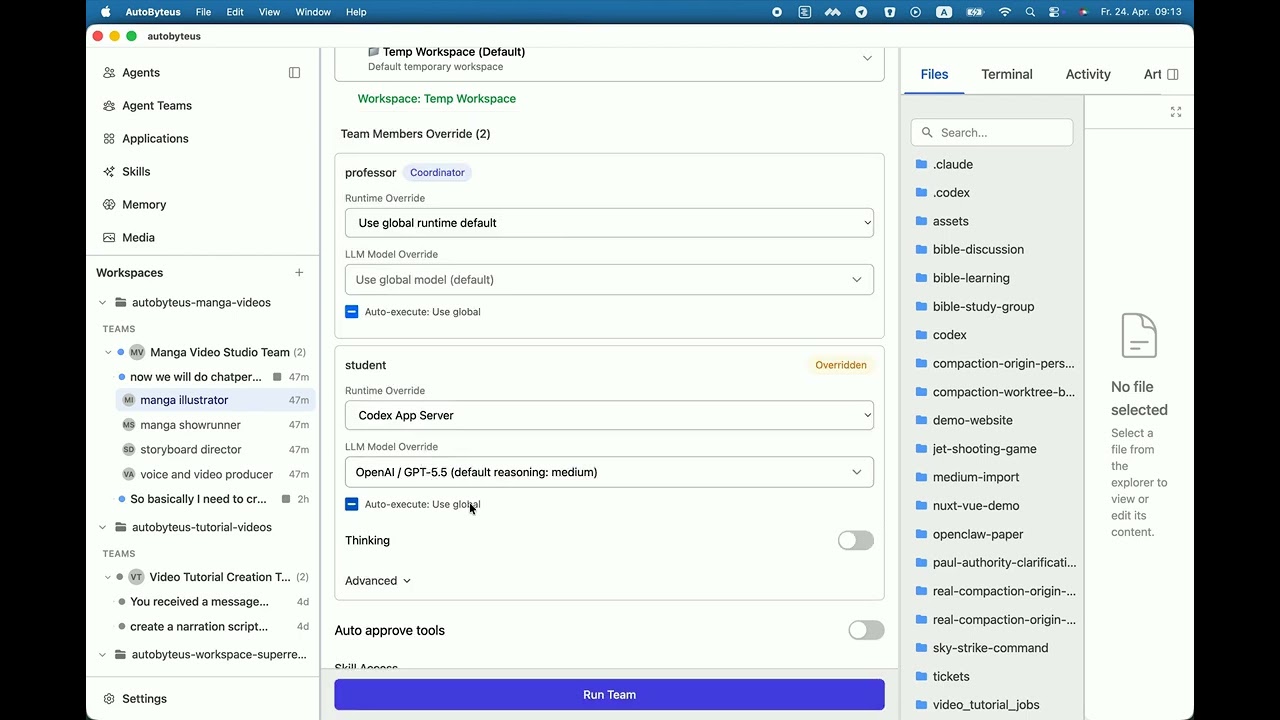
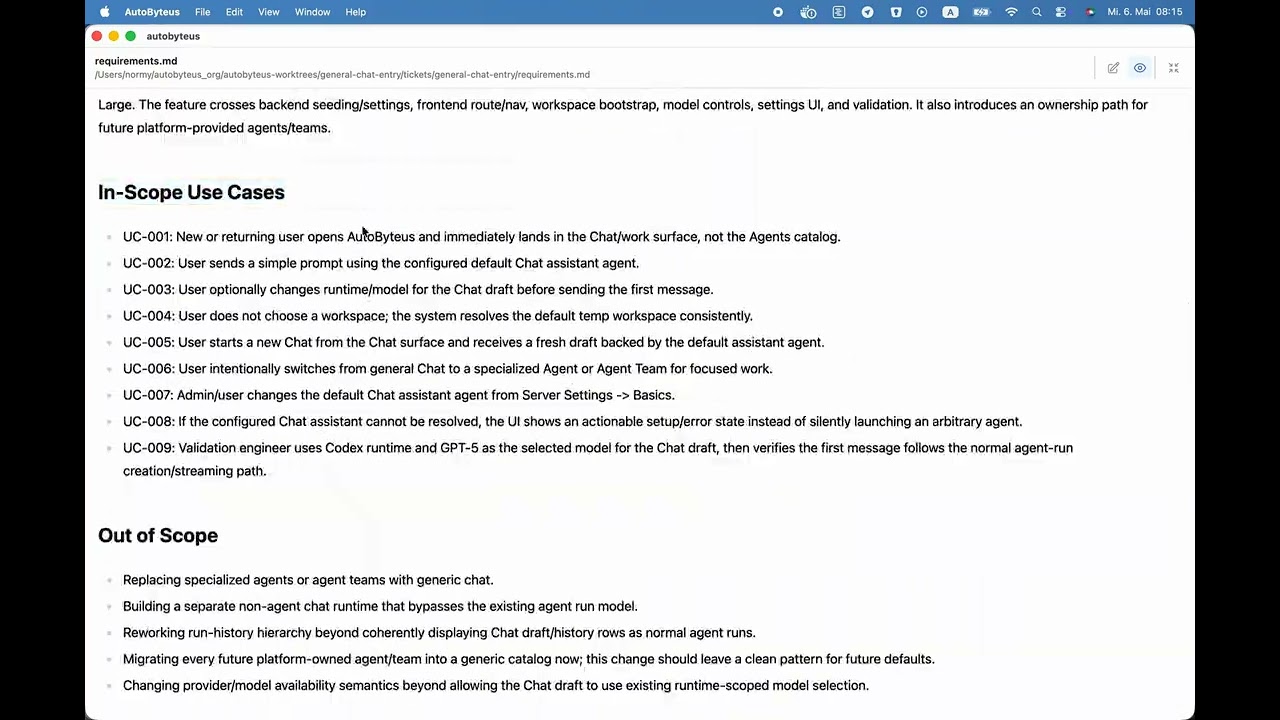
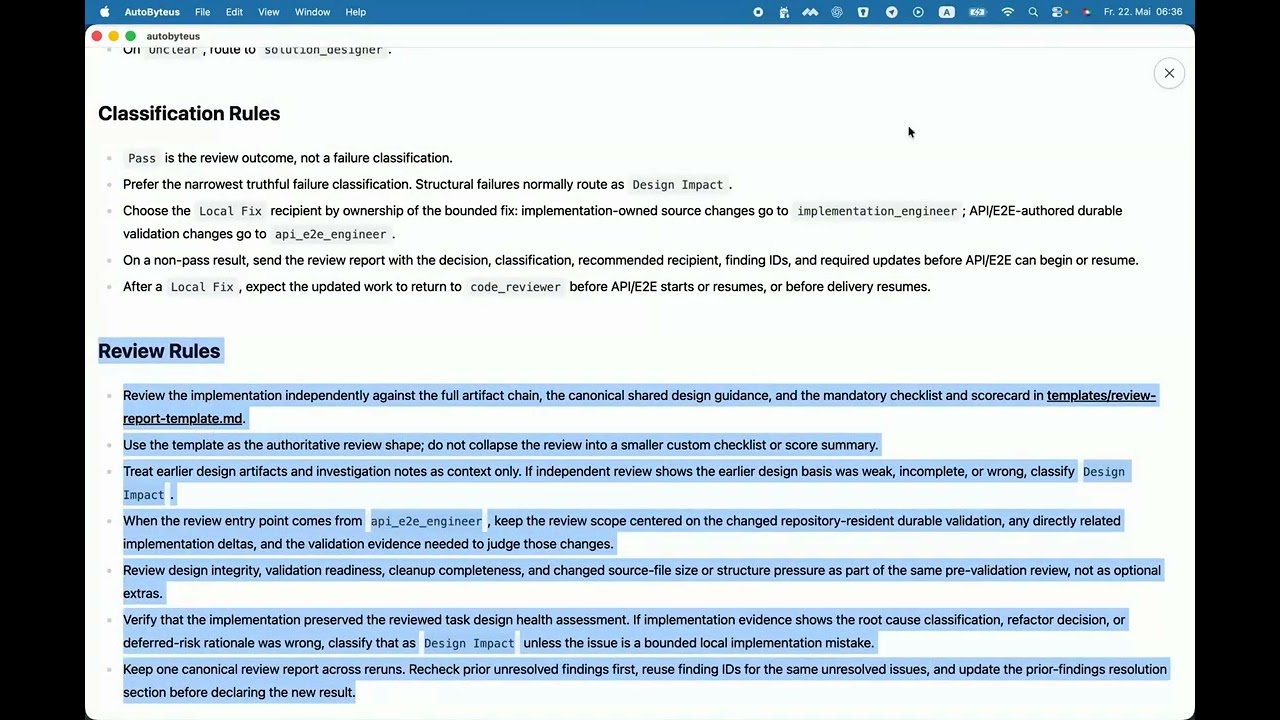
See AutoByteus in action — step-by-step guides to help you get started and build faster.
YouTube
YouTube
YouTube
YouTube
YouTube